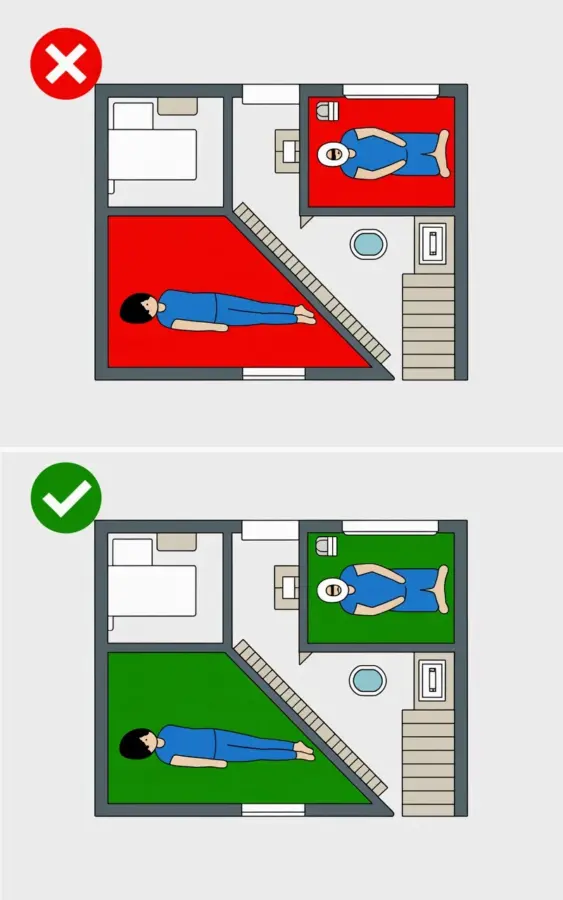
Small bathroom layout ideas can make or break a space, especially when you only have a few feet to work with. I have seen so many owners get excited about a new vanity or a freestanding tub, only to realize after installation that they have to squeeze past the toilet to open the shower door. That is the red X moment. In the floor plan comparison that inspired this post, the top layout shows a red X with a warning triangle and a blue figure lying in an awkward position (likely a bed in the bedroom context), while the bottom version swaps that red X for a green checkmark and a clean, comfortable flow. That same thinking applies directly to your bathroom. You can avoid awkward views and cramped movements by planning fixture placement before you pick up a hammer.
The Red X Mistake: Why Sightlines and Flow Matter More Than You Think
Most people focus on square footage and forget about lines of sight. A poor layout forces you to stare at a toilet while brushing your teeth or makes the door hit the tub every time it opens. In the bedroom floor plan shown in the image, the red triangle warns that a person lying in bed has a direct, uncomfortable view of the door, and the red X marks that as a failure. For a bathroom, the equivalent is placing the toilet facing the entry or positioning a mirror so it reflects the toilet while someone is using the sink. These are the small moments that make a bathroom feel wrong, even when everything is brand new. Sightlines are not just about privacy, they also affect how the room feels. A green checkmark layout uses toilet placement, vanity orientation, and shower door swings to create a natural zone for each activity.
How to Map Your Bathroom Floor Plan Like a Pro (Before You Buy Anything)
Start with graph paper or a free online tool. Measure the exact room, including door swings, window locations, and any obstructions like duct chases or pipes. Then draw a bubble diagram: one bubble for the toilet zone, one for the sink, one for the shower or tub, and one for storage. Each bubble needs a minimum clear space. For a toilet, that is about 30 inches wide and 60 inches deep in front. For a shower, a 36-inch square is the minimum comfortable size. Move the bubbles around until no bubble blocks a doorway or forces a turn into another bubble. This is the same logic the green checkmark floor plan uses: every fixture sits in its own zone without crossing paths. Avoid placing the toilet bubble directly across from the door bubble. That is a guaranteed red X.
Fixture Placement That Earns a Green Checkmark
A green checkmark layout respects three simple rules. First, the toilet should be tucked behind the door or beside the vanity, so it is not the first thing you see when you walk in. Second, the vanity mirror should reflect a wall or a nice tiled shower, not the toilet. You can angle the mirror or use a medicine cabinet to achieve this. Third, the shower door should swing outward or be a sliding door if the bathroom is under 40 square feet. In the visual, the green checkmark sits next to a green triangle, which likely indicates a safe and comfortable path for the person inside. That same idea applies here: a clear walking lane from the door to the sink to the shower without having to sidestep the toilet. If you have a small square bathroom, placing the sink and toilet on one wall and the shower on the opposite wall almost always earns a green checkmark.
The Before and After of a Small Bathroom Layout: A Real Example
I worked with a homeowner who had a 5×8 foot bathroom that felt claustrophobic. The before layout had the toilet right next to the door, the vanity in the middle, and a corner shower that you could barely fit inside. Every morning meant twisting past the toilet rim to
#smallbathroom #
Leave a Comment