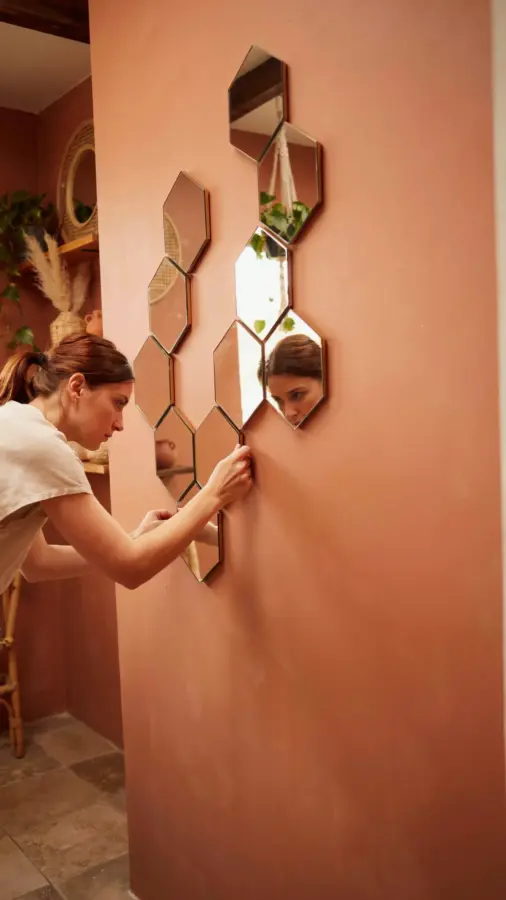
If your small bathroom feels cramped but you still want a place to check your full outfit before heading out, an IKEA hack full length mirror might be exactly what you need. I live in a city apartment where every inch counts, and storing a traditional standing mirror was simply out of the question. After a few weekends of trial and error, I found a way to combine a simple IKEA mirror with a few inexpensive supplies to create a sleek, space-saving solution that also doubles as a slim storage unit. This project is beginner-friendly, costs under $30, and takes about an afternoon to complete. Let me walk you through exactly how I did it.
Why a full length mirror matters in a small bathroom
Standing in front of a small vanity mirror makes it nearly impossible to see your full outfit. You end up stepping back, craning your neck, or relying on a separate full length mirror that takes up floor space. In a compact bathroom, floor space is precious. By mounting a full length mirror on the wall, you reclaim that area for storage or simply for breathing room. This IKEA hack also lets you incorporate a hidden shelf behind the mirror, which I use for daily toiletries and small towels. It turns a functional necessity into a smart home organization tool, keeping clutter off the counter.
I know the term “DIY” can feel intimidating if you have never drilled into a wall before. But I promise you, this project only requires basic tools and a little patience. You will end up with a mirror that looks like a custom piece from a boutique store, but at a fraction of the cost.
Materials you need for this budget decor project
Before starting, gather everything in one spot. Here is the exact list I used. You can substitute some items if you have similar things at home.
- IKEA STÖTTA mirror (or any slim frameless mirror, about 17×47 inches) – under $15
- 1/2 inch plywood board cut to size (slightly smaller than the mirror) – about $8 at a hardware store
- Two small hinges – for attaching the mirror to the wall like a cabinet door
- L-brackets or a simple shelf cleat – to create a ledge behind the mirror
- Strong double-sided tape or mirror clips – to secure the mirror to the plywood
- Screws, wall anchors, drill, level, pencil
- Paint or stain (optional) – to match the plywood to your bathroom trim
Total cost for me was around $25, and I had the drill and level already. If you do not own a drill, ask a friend or borrow one from a local tool library. The whole process is very forgiving.
Step by step: building your IKEA hack full length mirror
First, cut or have the plywood cut at the store to match the mirror dimensions. I left about a half inch border on each side so the wood acts as a frame. Sand the edges lightly. If you want a finished look, paint or stain the wood now and let it dry completely.
Next, attach the mirror to the plywood. You can use strong double-sided tape designed for mirrors, or use mirror clips along the edges. I chose tape because it is cleaner and holds firmly. Just press the mirror onto the plywood, making sure it is centered. Let it sit for an hour with some weight on top (like a stack of books) to bond well.
Now for the smart storage part. I added a small shelf cleat to the back of the plywood at the bottom. This creates a 2-inch deep ledge that runs the entire width of the mirror. You can store small bottles, a comb, or even a rolled washcloth there. It is hidden behind the mirror when it is closed, but easily accessible when you open it.
Finally, mount the hinges to one side of the plywood, then attach the other side of the hinges to the wall. Use wall anchors if your bathroom wall is drywall, or screw directly into studs if possible. The mirror will now swing open like a cabinet door, revealing the storage behind it. I positioned mine so it swings away from the toilet, making it easy to use.
Space saving and home organization tips for your small bathroom
Once your mirror is installed, you will notice how much cleaner your bathroom looks. The counter stays clear because you can stash daily items behind the mirror. I keep my toothbrush, toothpaste, and a small jar of cotton rounds back there. The ledge is deep enough to hold a slim bottle of hand soap too.
If you have a very tight space, consider mounting the mirror on the back of the bathroom door instead of the wall. That way you get a full length mirror without using any wall area at all. You just need to adjust the hinges so the mirror swings with the door. This works especially well in rental apartments where you cannot drill into tiles.
Another tip: place a small hook on the side of the plywood for a hand towel. This adds even more utility without taking extra space. I have a tiny command hook there, and it has held up for months.
Common beginner mistakes and how to avoid them
The most frequent issue I hear from friends is measuring wrong. Double check the mirror size against the plywood before cutting. Also, make sure the wall space where you plan to mount the mirror is clear of electrical outlets or light switches. You do not want the mirror to block them.
Another mistake is using only adhesive to hold the mirror on the plywood. Over time, humidity in a bathroom can weaken the tape. I recommend adding a couple of mirror clips at the bottom as a safety backup. They are invisible once the mirror is mounted against the wall.
Lastly, if you are renting, ask your landlord before drilling. Many allow small wall mounts if you patch holes later. Or use heavy-duty command strips for the hinges, though I find screws more reliable for a daily use mirror
#ikeahack #bathroommirror #budgetdecor #homeorganization #diybathroom
Leave a Comment