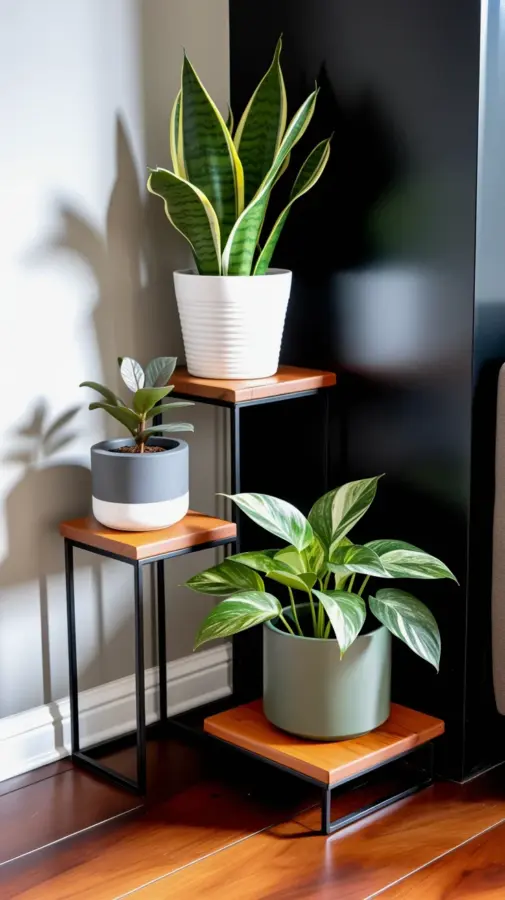
Why I Needed a Scrap Wood Plant Stand in My Tiny Bathroom
My bathroom windowsill was overflowing with pots. Every time I opened the window, something toppled over. I needed more vertical space, but store bought tiered stands were either too wide or cost more than I wanted to spend. So I built my own DIY tiered plant stand from scrap wood pieces I had stacked in the garage. It took less than an hour and completely changed how I display my indoor plants in that cramped room.
This project is ridiculously simple. You do not need fancy tools or carpentry skills. If you can measure, saw straight, and drill a couple of screws, you can make this stand in an afternoon. The best part? It costs almost nothing if you already have leftover lumber or old pallets.
Gathering Your Scrap Wood and Minimal Tools
I used a piece of 1×6 pine for the shelves and a 1×2 for the vertical supports. Both were leftovers from a previous shelf build. If you do not have scrap wood, check your local hardware store for the “cull” bin where they sell short pieces at a discount.
- Wood: Two 12 inch pieces for shelves, one 6 inch for the bottom tier, and two 8 inch vertical supports.
- Tools: Hand saw or miter saw, drill with screwdriver bit, sandpaper (120 grit), and a tape measure.
- Hardware: Four wood screws (1.5 inch) and wood glue (optional but helpful).
- Finish: Left mine raw because the bathroom is dry, but you can apply a clear sealant if you want.
I recommend cutting your shelves slightly narrower than your window sill. My sill is only 5 inches deep, so I kept each shelf at 4 inches wide. That leaves enough room for small pots without blocking the light.
Simple Assembly That Actually Worked the First Time
I started by cutting the two vertical supports to 8 inches each. Then I cut the shelves: one at 12 inches for the top tier, one at 10 inches for the middle, and one at 8 inches for the bottom. The staggered widths create a natural tiered look and prevent the stand from feeling top heavy.
I glued the shelves to the supports first, clamping them for ten minutes. Then I pre drilled pilot holes (important to avoid splitting scrap wood) and drove screws through the supports into each shelf. The whole structure held together solidly without wobbling. One tip: make sure the screws are countersunk slightly so the surface stays flat for pots.
After assembly, I sanded all edges until they felt smooth. Raw scrap wood can have splinters, and I did not want to scratch my bathroom vanity or my hands every time I moved the stand.
Best Indoor Plants for a Humid, Low Light Bathroom
Once the stand was ready, I had to choose plants that would actually thrive on it. My bathroom has a small window facing east, so it gets modest morning light and high humidity from the shower. I picked three types that do well in those conditions.
- Pothos: Trails over the edge, grows in low light, and loves humidity. I put this on the top shelf.
- Snake plant: Tolerates neglect and indirect light. Perfect for the middle shelf where it gets a bit less direct sun.
- Spider plant: Produces baby shoots that hang down. I placed this on the bottom shelf to fill the visual gap.
If your bathroom has no window at all, stick with a pothos or a ZZ plant. They survive on artificial light alone. Avoid succulents or cacti in a steamy bathroom they will rot from the moisture.
Small Bathroom Decor Ideas to Make the Stand Pop
After placing the tiered stand on the back of my toilet tank, I realized it looked a little bare. I added a small decorative tray on the bottom shelf to catch drips from watering. Then I hung a tiny macrame piece from the top shelf bracket just for texture.
You can also use the stand to display a soap dispenser or a small candle alongside the plants. That keeps the bathroom functional without looking cluttered. I have seen others paint their scrap wood stand in a bright color like mint green or coral, but I prefer the natural wood grain against the white tiles.
For a cohesive look, keep your pot colors consistent. I use terracotta pots on all three shelves. The warm orange red clay contrasts nicely with the green leaves and the pale wood.
Quick Modifications for Different Bathroom Layouts
This basic design can be adapted to fit almost any nook. If your bathroom has a wider counter, lengthen the shelves to 18 inches each and add a third
#DIYPlantStand #BathroomDecor #ScrapWood #IndoorPlants #SmallBathroomIdeas
Leave a Comment